Catalytic Converter Canning
Measure, view, and evaluate dynamic forces acting between a catalytic converter and contact surface.
Improving Catalytic Converter Design & Handling With Pressure Measurement
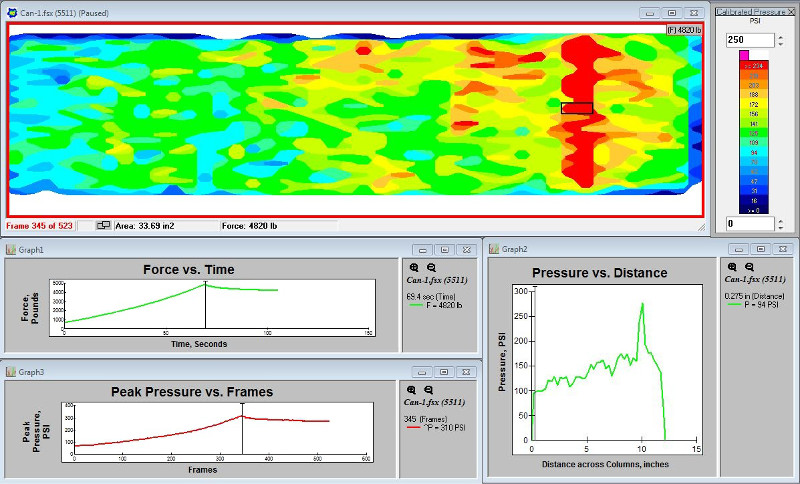
Tighter regulatory emission standards have forced manufacturers to design greater surface area into the catalyst to dilute emissions even further. Measuring the pressure applied in the assembly process has become more important to reduce cracks in the catalyst.
Challenge
These new, thin-walled catalysts are more fragile and more susceptible to breakage if an uneven pressure is applied in the assembly process. For example, a localized high pressure during assembly of a catalytic converter can crack or partially crush the catalyst. These are defects that lower product quality, reduce yields, and result in inferior product performance by allowing higher emissions.
Solution
The I-Scan™ pressure mapping system is a revolutionary product development and manufacturing process tool for catalytic converter designers and manufacturers. I-Scan provides data that helps determine the optimal assembly process for the fragile catalysts and provides data for improving catalytic converter designs. The information provided can save companies time and money in design, process verification, and re-engineering costs. Tekscan’s patented, thin-film sensors are available in different pressure ranges, are reusable, and provide accurate pressure readings. With the help of our highly qualified sales and engineering support team, each system is configured to meet your specific needs.
Catalytic Converter Pressure Mapping Applications
- Research and development
- Identify weak seal pressures, low forces, and peak pressure location
- Design comparison testing
- Machine set-up
- Quality control
Benefits of Pressure Mapping
- Manufacturing process development
- Improved quality
- Design validation
- Improved yields
